Wednesday, October 05, 2011

APPLE PIE that's sure to keep the doctor away!

What would Pie Week be without the most popular pie: APPLE?! There are so many variations for apple pie, so many different additions & versions of the pie. I decided, for my first time at making an apple pie from scratch, to stick with a simple (failproof) apple pie recipe. My favorite part about this recipe is the amount of apples in it! The crust could barely cover them! That's always a good sign you're on the right track with your apple pie :)

FAILPROOF APPLE PIE:
(Sure to keep the doctors away with how many apples are in it!)
INGREDIENTS:

--Double-Crust Recipe
for Pie Crust (or ONE box of refrigerated pie crust, thawed for 15 minutes)
--1/3 to 1/2 cup sugar
--1/4 cup Gold Medal® all-purpose flour
--1/2 teaspoon ground cinnamon
--1/2 teaspoon ground nutmeg
--1/8 teaspoon salt
--8 medium Granny Smith (green) apples
--2 tablespoons butter or margarine
____________________________________________________________

As with all fruit, it's important to RINSE before using. I recently came across a really informative article here on the importance of this step and now I make sure NEVER to forget!
For the peeling, coring & cutting of the apples - here are your two best friends. YES that IS a potato-peeler, and it works like magic on your apples to peel them super fast, without the risk of cutting off your finger (because I'm a klutz and cannot peel without doing so until I discovered this trick)
Before you begin cutting your apples, you're going to need to get a LARGE bowl (for all these apples!) and mix the sugar, 1/4 cup flour, the cinnamon, nutmeg and 1/8 teaspoon salt.
Peel all of the apples - How nice was it with the potato peeler?? It seriously has saved me about 10 fingers since discovering I could use that instead of a kitchen knife.


Once you've peeled all your apples, grab that SECOND super-useful tool (The apple cutter/corer) and core away! Then slice into thin pieces (I like to leave them semi-big slices just so there's nice big chunks in the pieces. However, some prefer smaller pieces, so to each his own on that one! :)
Pour all the apples into the sugar mix and mix really well. You can use a spatula or spoon, I started with that and ended up elbow-deep with my hands because I couldn't seem to mix the dry throughout the apples. So, when all else fails - use your hands! (Just make sure to wash really well beforehand obviously)

Pour the apple mixture into your pie shell and stack all the apples into the shell so that they all fit. It will stand very tall, but that's the good part of this pie! LOTS of apples!

Once your apples mixture is in there securely, get your 2 Tablespoons of butter and cut into slices and place over the apple mixture (like pictured)


Once your mixture is securely in the pie shell. Get your other pie crust and unfold over the apple mixture. Go slowly so you don't tear your crust as you try and cover the entire mixture.

Then trim overhanging edge 1 inch from rim of plate. Then seal & fold edges, pressing on rim to seal; for how to do the FLUTED pie crust, check out this video on Youtube.

Cover edge with 2- to 3-inch strip of foil to prevent excessive browning.
 
 Bake 40 to 50 minutes or until crust is brown and juice begins to bubble through slits in crust, removing foil for last 15 minutes of baking. Serve warm with ICE CREAM :)


PEACH, peach & MORE peach Pie!

My all-time favorite pie is Peach. It's weird because Peach isn't even my favorite fruit, but in a pie-form, there's no stopping me. Maybe it's the mix of spices with such a flavorful fruit? Whatever it may be, for Pie Week, I just HAD to make a Peach Pie :)

For this Pie I used a Peach CRUMBLE Recipe, and it was nothing short of spectacular. I was really concerned about attempting to make something I've always felt so fond of, mostly because if I ruined it somehow, I may never enjoy it as much again - and that wasn't something I was easily willing to risk. So after hours of searching for THE perfect recipe, I found a CRUMBLE recipe on Betty Crocker, and knew (as I always know) that I was safe in her hands. She's Betty afterall! :)


Peach Crumble Pie
Filling 
4 cups quartered peeled peaches  
(8 to 10 medium OR you can use 2 bags of frozen peaches if it's not the season) 
1/2 cup granulated sugar
1/2 teaspoon ground nutmeg
2 tablespoons whipping cream 
1 egg

Topping 
1/2 cup Gold Medal® all-purpose flour
1/4 cup packed brown sugar
1/4 teaspoon ground cinnamon
1/4 teaspoon ground nutmeg
1/4 cup butter or margarine, softened


Putting the Pie Crust down: place in pie plate. Place the pie crust into the pie pan, pressing firmly against bottom and sides. Be careful not to tear the crust when pushing into sides. Trim overhanging edge of pastry 1 inch from rim of plate. Fold and roll pastry under; press edge with tines of fork.

Once you have your pie crust in the pan, you should bake it for 5-7 minutes in the oven at 350 degrees so it gets a little brown before filling with the peaches.
After getting out of the oven, pour the peaches into the pie crust (don't you LOVE how much peaches this recipe calls for!) I even added a little extra just to make it all the more PEACHY :)
Mix sugar and 1/2 teaspoon of nutmeg in bowl, and sprinkle mixture over peaches
In another bowl, beat the whipping cream and the egg with a fork or whisk until completely blended. Pour liquid mixture over the peaches (on top of the sugar mixture)
Should look something like this :) YUM!
Now - for the TOPPING Mixture! Mix all of the ingredients for the Topping (listed at top)
Once they topping is mixed together, you are going to sprinkle this mixture completely over pie filling. (The Topping mixture will be crumbly from the butter, that's okay. To help the butter mix better you can cut it into pieces before adding to the mixture)
Your pie should look like this. Now, in order to avoid burning your crust: Cover edge of pastry with 2- to 3-inch-wide strip of foil to prevent excessive browning; remove foil for last 15 minutes of baking. Bake 35 to 40 minutes or until top is golden brown. Cool 30 minutes. Serve warm.

And There you have a yummy, warm & EXTRA PEACHY Peach Crumble Pie!


Cranberry & Wild Blueberry Pie! With Lattice Top Tutorial :)

A couple weeks ago I wanted to embrace Fall and really get in the spirit. I thought I'd take a break from the normal cakes and cupcakes and challenge myself to PIES. I personally am a Pie girl all the way. Though my heart belongs to cake, I must say my first love has always been the pie :) I've never made a homemade pie (yes, this is true) and figured I'd take a few days and teach myself! The next few blogs will show you my pies, recipes & Youtube videos that really helped me with my "pie-teachings". There will be about 5 more to come next week, as my "Pie Journey" is still continuing. I must say, it's pretty addicting :)

_______________________________________________________________

Cranberry & Wild Blueberry Pie:
My first Pie was a berry pie. I found the recipe on Bon Appetit and it was a feature pie for their "25 Perfect Pies for Fall" blog - so, naturally, it had to be a stop on my Pie Week!

 Filling
  • 16 ounces frozen organic wild blueberries (do not thaw)
  • 12 ounces fresh or frozen cranberries (do not thaw; about 3 cups)
  • 1 1/4 cups sugar
  • 3 tablespoons cornstarch
  • 2 cinnamon sticks
  • 1 tablespoon fresh lemon juice
  • 1/2 teaspoon finely grated lemon peel
_________________________________________ ________________________________________  
First thing you want to do is combine all of the ingredients in a large saucepain on medium heat.
You do not need to thaw your fruit (if they are frozen or chilled). I used a bag of fresh Cranberries for mine, and bought a frozen bag (16oz.) of frozen blueberries because it was cheaper to do it that way. This is the Target Brand.
Add all the berries
Add 1 1/4 cup of Sugar
For the Lemon Zest and Lemon Juice additions, you should only need 2 lemons at most.
Add your 2 Cinnamon Sticks (You will be removing later but they will add the rich flavor to the blend as it boils)
Add the 3 Tablespoons of Cornstarch
For your lemon zest - I usually will use a hand grater, or this fancy tool I found at Walmart (I believe it was $5). It grates your lemons and has a nice shield on back so it will hold your shavings on the back & show you the measurement. It's pretty handy dandy. Otherwise any grater you have will be fine for the 1/2 Teaspoon Grated Lemon Peel.
Once everything is added in the saucepan, it should look something like this :)
Cook everything over medium heat until it starts to thicken. Mine took about 13-14 minutes to do so. Once it seems thick, continue to boil for another 2 minutes, stirring frequently. Turn off the stove and let it cool for a few more minutes.
After a few minutes of cooling on the stove, transfer your berry mixture into a glass or ceramic dish and stick in the refrigerator (covered!) until it cools completely. This can be done a few days in advance even before making your pie. Mine took about 3 hours to cool completely. During that time I  made my pie crust.  

____________________________________________________________

For your pie crust, you can use a store-bought pie crust (thawed). Or you can make your own! I found some really helpful recipes/videos for pie crust on YouTube (here are the two I used for mine):

OR
____________________________________________________________________________

FILLING & Making the Lattice Top!
Once your pie crust is made, the filling is made & chilled completely, it's time to get to business! This is where the real "art" of pie making comes in. Unwrap your pie crust and place in the pie pan and press sides to pan so it's in there nice and tight (be sure not to rip or tear crust though).

 Once you fill your pie crust, it's time to make the Lattice Top!


 LATTICE TOP! Tutorial & Video!
I found an amazing video on making the Lattice Top, and you can find it HERE. It's really not that hard once you break it down into steps (as I did below).

For the TOP pie crust you want to cut strips into the crust (Like Pictured). Try to make the strips as straight and even as possible so that they make it acrossed the top of your pie. Then, Lay each strip across the top of your pie - using ALTERNATING strips each time.
Once you do the whole pie strips, it's time to use the other strips to WEAVE the strips together. After your finished with the weaving, then press the ends together and fold underneath to seal the pie crust to the pan. Brush the strips with the Heavy Whipping Cream and sprinkle with Nutmeg for a little extra spice to the crust.
Once all is finished, bake your pie at bake at 350 degrees, until crust is golden and filling is bubbling. This should take about 1 hour 10 minutes. Cool pie on rack then SERVE!

 I prefer a more "brown" crust. However, if you don't like it that way - you can always add a foil covering to the crust before you put it in the oven, and it will prevent the crust from burning or becoming "too brown".


The Leaves Are Changing!

Well, it's officially Fall! I've been so excited for Fall to come and it finally is all around us! For the last week I've found myself totally embracing Fall and all that comes along with it. I've spent days walking around Target, The Dollar Store, Michaels & other nearby stores just finding decorations upon decorations to make our house more festive.

After 8+ trips, I'd say my house is finally (almost) complete! And I must say, I'm pretty proud of all the stuff I found, without having to break the bank! Gotta love great finds & great deals! 

Vase - $1 at Dollar Store
Pinecones - $2 at Michaels
Two sets of leaves - $2 at Dollar Store

Sparkly "Harvest" piece - $3 at Michaels

"Warning: Witch with Attitude!"
$2 at Michaels - Funny how all the guys in my house thought this was the best piece I bought.. hmm, not sure if that's a good thing. But I am the ONLY female in the house, so I suppose it comes with the territory? LOL
This is my first "arrangement" I've put together before. I got the pumpkins from the Dollar Store, the Pinecones (mentioned previously) came from Michaels in a bag for $2 and the basket was from the Dollar Store as well. As well as the two ceramic pumpkins on the sides.
"In Our Home, Let love abide, and Bless All who Step Inside."
Love this! I may have to leave this up all year long just because it's so sweet. Found this for $4 at Michaels! Yes - they're Fall and Halloween section is ALL 40% off and AMAZING! Definitely recommend checking out.
Trick Or Treat piece - $2 at Michaels
This is my first ever flower arrangement! It looks a lot better in person because you can see all the different flowers, etc. I used in the arrangement. The jar and "moss" came from Dollar Store, as well as all the flower/leaf pieces. I also threw in some extra pinecones from the bag I got at Michaels (That $2 went a long way, and made the house smell great!)
This was a cute little Fall planter I found at the Dollar Store and worked perfectly for our little bar table in the kitchen :)
LOVE! Naturally I fell in love with this as soon as I seen it. Then found out it was only $3 at Michaels and fell MORE in love!
Super cute Halloween towels at Target! 2 in a pack for $1 ! If you've never checked out their Dollar Section at Target - Do yourself a favor and run over NOW and check it out. All year long you'll find the most random, amazing finds!
This is Frank! He is a HUGE scarecrow and cost $4 at Michaels! Can't find a better deal than that! I probably will go back and get some more once payday comes around. They're making the front yard looks SPOOCtacular :)
Window Clings! Three packs of assorted Fall & Halloween ones for $1 each at Michaels. Such an easy way to make the house festive on the outside :)
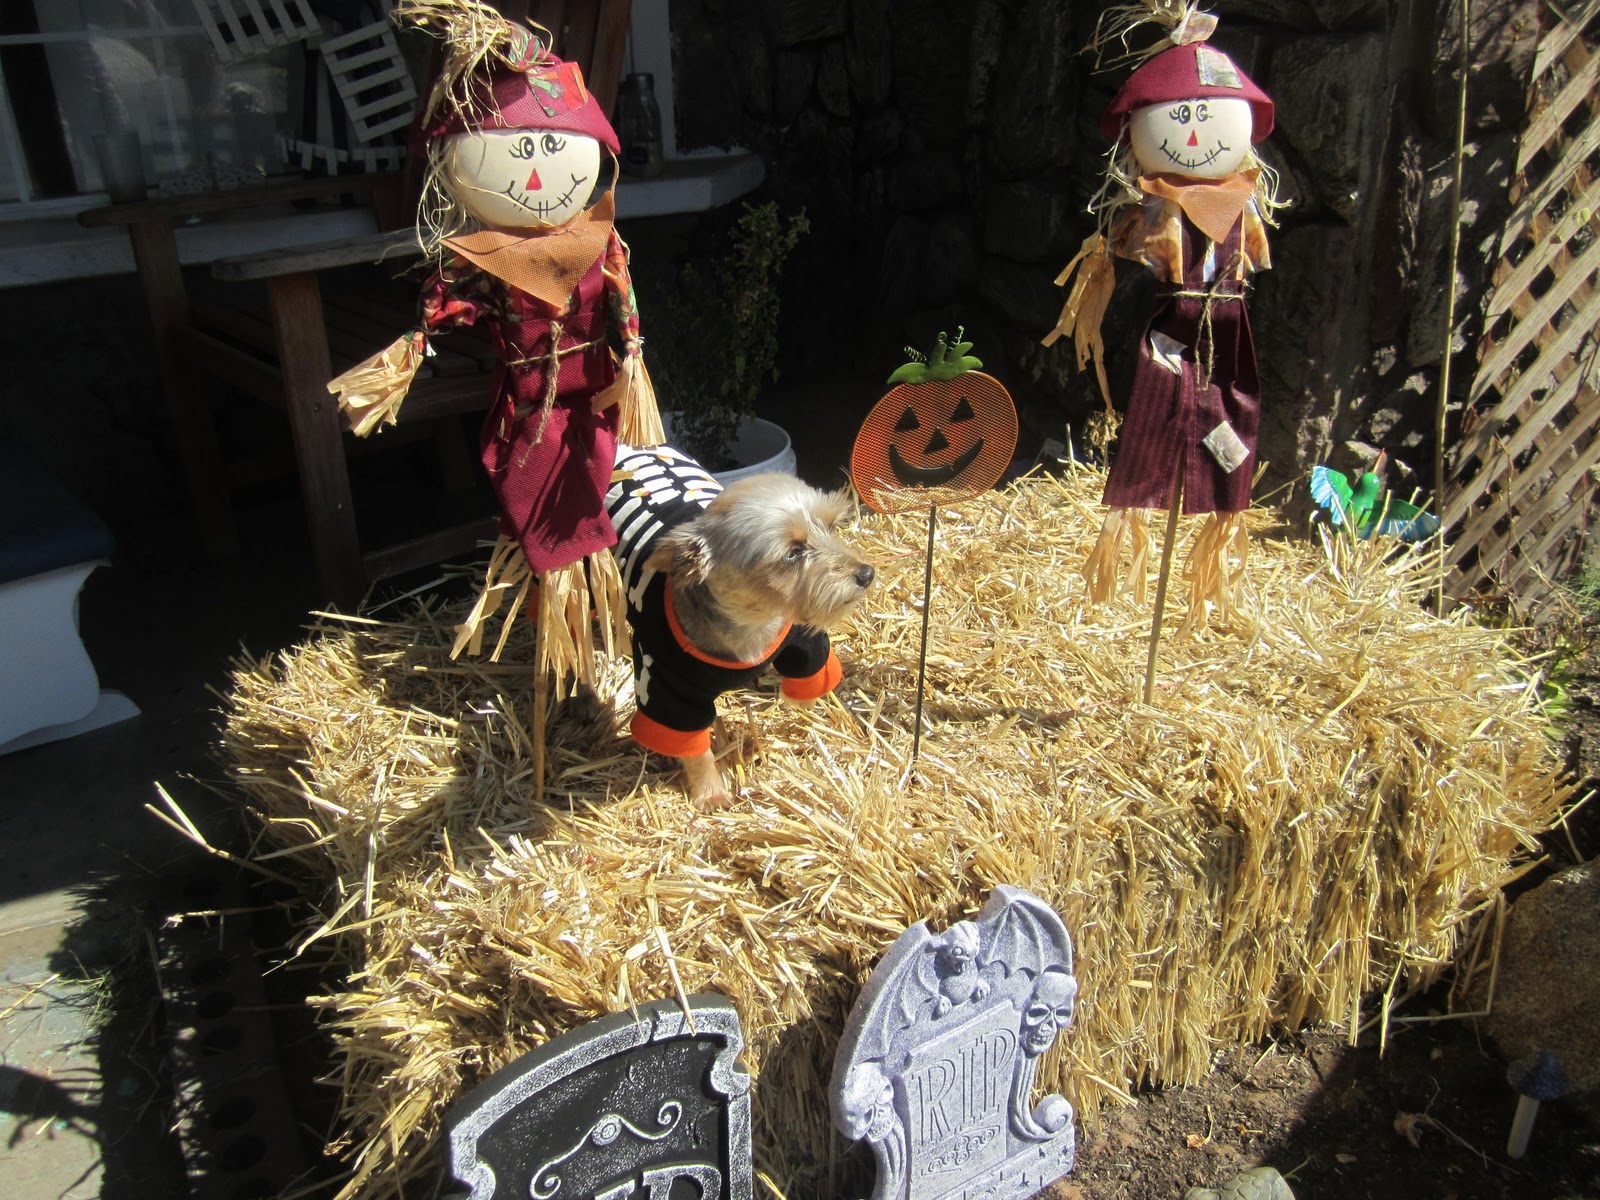
Had to take a picture of Grizzly (Our 1-year-old Chorkie) laying down on the haystack. She's in her Halloween Skeleton Pajamas we got her at Target for $7 (she has three different pairs) - but she looks so cute & festive here!
My mom bought & brought me over this hay barrel she found for $5 and I must say - it makes the outside PERFECT! I may go get another one this weekend for the other side of our patio section. As well, she got me some huge cornstocks, I have yet to put out yet. This weekend we're going to get all the pumpkins from our local pumpkin patch so that will complete our haystack look - and outside look in general :) Can't wait! I LOVE pumpkin patches!
Hanging skeletons (I put four out in front of our porch) and the witch on the broomstick were ALL $1 at the Dollar Store!


I'm such a sucker for great deals and I had so much fun decorating our house for Fall & Halloween, I just had to share. Hope this helped give you some great tips on where to shop for great, affordable decorations! If you come across any great finds yourself, please send my way - you can never OVER decorate, can you? LOL Guess we'll find out ;)